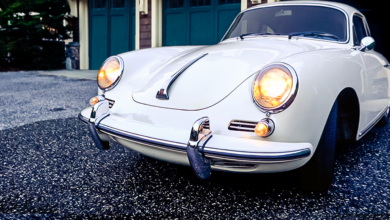
What’s up, you guys. All right, so I’m going to show you the before and after of putting a Fister Stage III exhaust on this ’96 Porsche 911, it’s a 993, last of air cooled Porsches.
So this is one that I really like, but the fact is the stock exhaust doesn’t really sound… when you’re driving, I mean, you can hear it, but it doesn’t really do a lot. I had a Mercedes E 63 S that had a much louder exhaust than this, and I think this is a much nicer car in a lot of ways, it’s also appreciating in value, it’s not depreciating anymore.
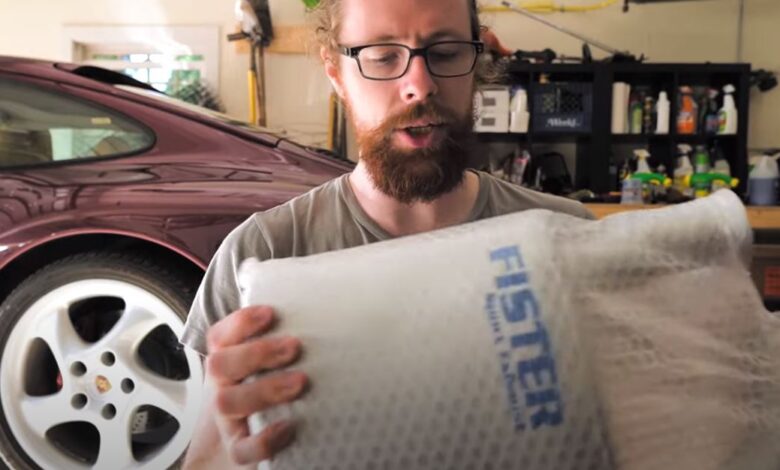
So I want to put a new exhaust on, and so I got the Fister Stage III. Now the Fister exhaust, the way they do it is you can actually send back your core, so you install this and then you send back your exhaust, and then they’ll take your exhaust, they redo all the internals on the inside, and then they ship it out to someone else. So this is an exhaust that would have originally come off of a 993.
I’m going to keep my cores because I want to be able to move the car back to stock if I want to, it’s got 14,000 miles on it, it’s in really good shape. And although I want this exhaust, someone else in the future might not.
So I’m not going to send back the core, but that’s okay. My understanding is that, let’s see, this should be a pretty straightforward install because, literally, it’s just removing the existing muffler and replacing it with this. There are four bolts, and hopefully it’ll be straightforward.
I’ve heard of some people with bigger tires that have had a hard time getting this back in spot. I don’t think I’ll have to take the wheels off though because these are stock.
All right, so I’m going to give you guys a before and after, and then for those of you guys that like the sound of it, we’ll jump in and you’ll get to watch me install the new mufflers. We’ll see how it sounds.
So although I think it’s probably possible… Can you hand those to me? Hand those to me, please? Thank you.
Although I think it’s probably possible to do this in maybe an hour and a half, I have a two and a half year old helper who’s going to slow me down for sure. What I’m going to do first is loosen each of the four bolts, I really don’t want to strip any of the four, that’s going to slow me down big time.
So I’m going to just try to loosen all four of them, see if there’s one that’s giving me a hard time, and if I get them all loose and that’s not an issue, then I’ll just go ahead and undo all of them.
But I’m going to start there because I don’t want to fully put on one side and then realize I can’t get this one off, then I have half an exhaust, that’s not going to work.
All right, so I’m going to go through each of these four bolts, I’ve already done this muffler here, that was pretty easy. And I can just show you, right here. It’s this bolt right here, it’s 13 millimeter.
So 13 millimeter right there, I’m going to have the same one on the other side, and I think I’m going to have to undo this right here, and then actually there’s one more. So I think it’s three bolts on each side, I think that’s all, there’s three bolts on each side. All right, I’ll keep you posted. Yeah, you bring that over here.
I don’t know if really need to remove this whole thing. All right. So this old one actually has a heat shield on it right here, which is clearly part of the design, and the new one does not have a heat shield.
Although, in terms of size and everything like that and shape, they’re totally identical, but no heat shield. So I might send an email just asking about that, I guess they must think that the heat shield’s not required, but I’ll just double check that.
But this one, I can’t put on here, because this has little brackets right in there that are hard to see, but it’s part of this design, so I’m not going to be able to put that heat shield on. So I’m just going to put this one to the side and put the new one on.
So this piece right here came off the old exhaust, and this is what connected the pipe right there. So I’m just going to slide that back in, just like that, try to make it as even as I can.
And then this piece, the bolt that came off this longer arm was pretty rusted, so I’m going to go ahead and get rid of that one and use one of the new ones that came with the set or with the hardware.
So, obviously, I think that’s the right thing to do, I could use the old one, but the new one is going to go on much better, so I’m going to go ahead and use the new one. I just have to put this on, connect it, and then do the same on this side here, which is where the muffler is going to attach right there, or the same exhaust tip.
So it’s basically going to be like that, and again, minus the heat shield, we’ll see if we can get that popped right back on.
So, little dark here, but this right here is the clamp, the connection between these two. So getting this back in there is going to take a second, just a little muscle, and then tightening it down, and then this’ll be the easy part.
This, I’ve already got hanging back here, and there’s a little clip on the back of the actual exhaust muffler right here, this clips and hangs on the underside of the car. So it hangs on that, and then this just tightens down to hold it in place right there.
So really just need to tighten this and then put the muffler back on, or the exhaust tip back on, on this side, and then the side will be done.
All right. Now, putting the exhaust tip back on, and this, I can just make sure I have it the way I like it and the way that kind of centered and looks good, and then tighten it down from there. And again, same little bracket here and using the new screw to hold it back in.
So this side has taken, I mean, honestly, 25 minutes. It really hasn’t taken very long at all. So this side’s almost done, and I’m going to go do that side and then I should be done.